Proper Installation Techniques for Curling-Edged Paint Bucket Gaskets
Installing gaskets on paint buckets with curled edges requires precision to ensure a leak-proof seal and long-term durability. Whether for industrial applications or DIY projects, improper handling can lead to solvent evaporation, contamination, or mechanical failure. This guide covers critical steps for achieving a flawless fit.
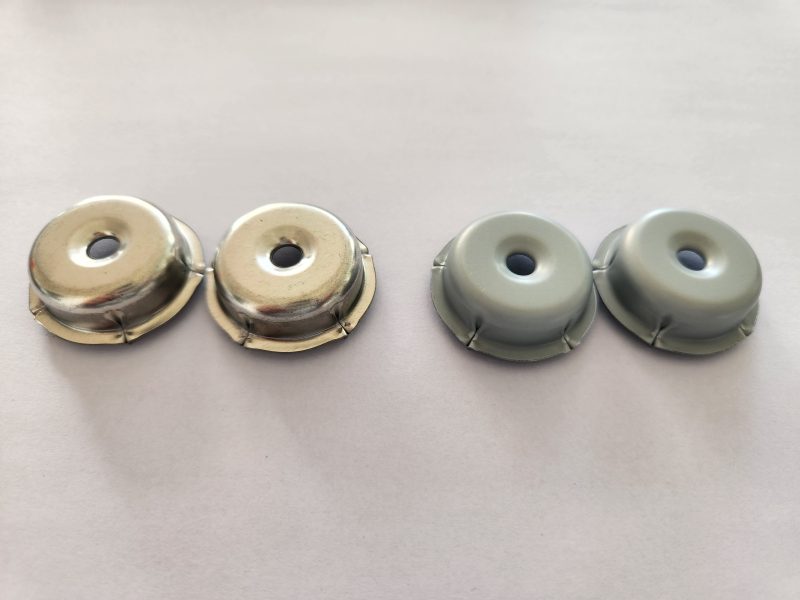
Understanding the Role of Curling Edges
Curling edges on paint bucket gaskets serve two primary purposes:
- Structural Reinforcement: The curved design distributes pressure evenly across the seal, preventing deformation under heavy loads or temperature fluctuations.
- Leak Prevention: The raised edge creates a barrier that blocks paint or solvents from seeping between the gasket and bucket rim, even when the container is tilted or vibrated.
When installing, avoid forcing the gasket into place, as this can crack the curl or misalign critical sealing surfaces. Instead, use gentle pressure to guide the edge into its groove, ensuring no gaps remain.
Step-by-Step Installation Process
1. Surface Preparation
Cleanliness is non-negotiable. Residue from old gaskets, paint splatters, or grease can compromise adhesion. Use a non-abrasive solvent-soaked cloth to wipe down both the bucket rim and gasket. For stubborn debris, a plastic scraper or nylon brush is safer than metal tools, which may scratch surfaces and create leak paths.
After cleaning, inspect the gasket for defects like cracks or uneven thickness. A damaged gasket won’t seal properly, even with perfect installation.
2. Aligning the Curling Edge
Start by positioning the gasket on a flat surface with the curled edge facing upward. Lower the bucket rim onto the gasket, ensuring the curl aligns with the bucket’s inner lip. This step is critical—misalignment can cause the gasket to shift during use, leading to leaks.
For buckets with irregular rims, use a temporary adhesive spray to hold the gasket in place temporarily. Apply a light, even coat to the gasket’s underside, let it tack for 30–60 seconds, then press it onto the rim. The adhesive should be non-hardening to allow repositioning if needed.
3. Securing the Gasket
Once aligned, apply uniform pressure around the perimeter to seat the gasket fully. Avoid over-tightening bolts or clamps, as excessive force can flatten the curl and reduce its sealing effectiveness. Instead, use a crisscross pattern when tightening fasteners to distribute pressure evenly.
For buckets without fasteners, rely on the curl’s natural tension to hold the gasket in place. Test the seal by gently pressing the gasket’s center—it should flex slightly without detaching from the rim.
Common Mistakes to Avoid
Overusing Adhesives
While temporary adhesives help during installation, applying too much can harden over time, making future removal difficult. Worse, excess adhesive can ooze into the bucket, contaminating the paint. Stick to a light tack coat and avoid coating both sides of the gasket.
Ignoring Temperature Effects
Extreme temperatures affect gasket materials differently. In cold environments, the gasket may stiffen, requiring gentle warming with a heat gun (set to low) to regain flexibility. In hot conditions, the material can expand, so install the gasket at room temperature to ensure a proper fit.
Skipping Inspection Steps
Even minor imperfections in the bucket rim or gasket can lead to leaks. After installation, fill the bucket with water and tilt it at various angles to check for drips. If leaks appear, re-examine the alignment and surface preparation before reusing the gasket.
Final Checks Before Use
Before storing or transporting the bucket, perform a final inspection:
- Verify all fasteners are tightened to the manufacturer’s specifications.
- Ensure the gasket’s curl remains intact and free of cracks.
- Confirm no adhesive residue is visible on the bucket’s interior.
By following these steps, you’ll extend the lifespan of your paint bucket gaskets and maintain a secure seal, even in demanding environments. Proper installation isn’t just about preventing leaks—it’s about protecting your tools, materials, and workspace from costly damage.