How to Check the Seal After Installing a Paint Bucket Gasket
Properly installing a gasket on a paint bucket is only half the battle—verifying its seal ensures your stored materials stay protected from leaks, contamination, and air exposure. A thorough post-installation check prevents costly mistakes and maintains paint quality over time. Here’s how to inspect the seal effectively without specialized tools.
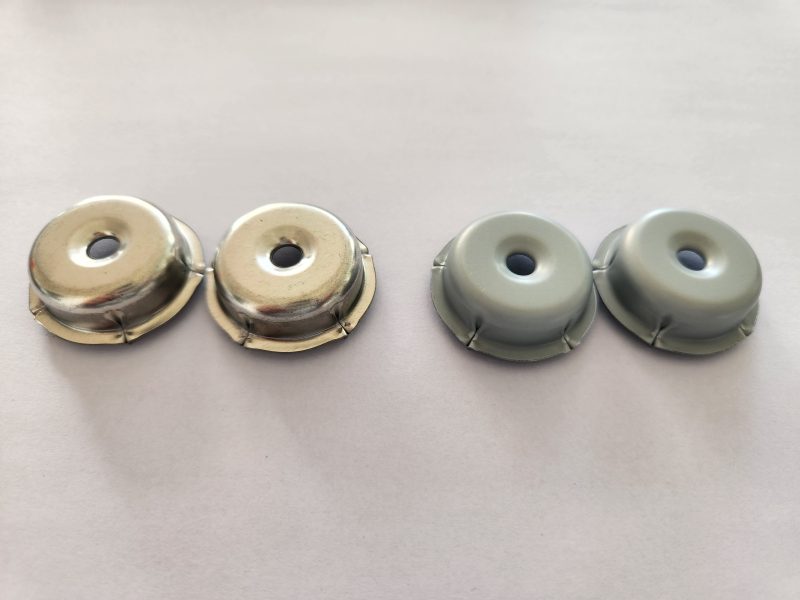
Visual Inspection for Obvious Gaps or Misalignment
Start by examining the gasket and bucket rim under good lighting to spot issues that don’t require physical contact. Even small gaps can lead to leaks, so approach this step methodically.
Checking Around the Entire Rim
Rotate the bucket slowly while inspecting the gasket’s edge where it meets the rim. Look for uneven compression, such as areas where the gasket sits higher or lower than its surroundings. This often indicates uneven tightening or a gasket that’s the wrong size for the bucket.
Pay attention to corners or curved sections, where gaps are more likely to form. If the gasket has a split or overlap, ensure the ends align neatly without overlapping too much or leaving a visible space.
Identifying Visible Deformation or Damage
A damaged gasket won’t seal properly, even if installed correctly. Check for cracks, tears, or permanent indentations in the material. These flaws can occur during installation if excessive force was used or if the gasket is incompatible with the bucket’s rim shape.
If the gasket appears warped or stretched, it may have been stored improperly before use. Heat, cold, or prolonged pressure can alter its shape, reducing its ability to conform to the rim. Replace any visibly compromised gaskets immediately.
Physical Tests to Confirm Airtight and Liquid-Tight Seals
Visual checks alone aren’t enough—physical tests simulate real-world conditions to ensure the seal holds under pressure. These methods are simple but effective for most paint storage scenarios.
Conducting a Pressure Test with Air or Liquid
For an airtight seal check, press down firmly on the gasket’s center with your palm. Listen for air escaping or feel for movement along the edges. If the gasket shifts or hisses, it’s not sealing properly. This test works best for buckets storing volatile solvents or air-sensitive materials.
For a liquid-tight test, fill the bucket with water (or a non-reactive solution if storing chemicals) and tilt it gently at various angles. Check for drips or moisture seeping between the gasket and rim. If leaks appear, mark the affected area and re-tighten or reposition the gasket as needed.
Applying Manual Pressure Along the Edge
Run your fingertips along the gasket’s edge, pressing lightly to feel for flexibility. The gasket should compress slightly under pressure but return to its original shape when released. If it feels rigid or doesn’t spring back, it may be over-tightened or made from a material too stiff for the application.
Conversely, if the gasket compresses too easily without resistance, it’s likely under-tightened. Adjust the fasteners or reapply pressure evenly around the rim until the gasket offers consistent, gentle resistance.
Long-Term Monitoring for Seal Integrity
A seal that passes initial checks may still fail over time due to environmental factors or repeated use. Regular monitoring ensures early detection of issues before they cause damage.
Inspecting After Temperature Changes
Extreme temperatures can affect gasket materials, causing them to expand or contract. After exposing the bucket to heat (e.g., in a sunny storage area) or cold (e.g., overnight in an unheated space), recheck the seal for gaps or loosening.
If the bucket will be stored in fluctuating conditions, consider using a gasket made from temperature-resistant material. These gaskets maintain flexibility across a wider range, reducing the risk of seal failure.
Checking for Wear After Repeated Use
Frequent opening and closing of the bucket can wear down the gasket, especially if the rim is rough or the fasteners are over-tightened. After several uses, inspect the gasket for signs of fraying, flattening, or permanent compression marks.
If the gasket shows wear, adjust your handling habits—loosen fasteners slightly, avoid dragging the bucket, and store it upright to minimize stress on the seal. Replace the gasket if wear becomes excessive, even if no leaks are visible yet.
Addressing Common Seal Failure Causes
Understanding why seals fail helps prevent future issues. Many problems stem from installation errors or material mismatches, which are easy to correct with attention to detail.
Over-Tightening or Under-Tightening Fasteners
Fasteners that are too tight crush the gasket, creating rigid spots that can’t adapt to movement or temperature changes. Under-tightened fasteners leave gaps, allowing leaks. Use a star pattern when tightening bolts or screws to distribute pressure evenly, and stop when the gasket compresses slightly but doesn’t deform.
If the bucket lacks fasteners, avoid using excessive force to press the gasket into place. Instead, rely on gentle, consistent pressure and tools designed for non-marring installation.
Using Incompatible Gasket Materials
Not all gaskets work with every paint type or bucket material. For example, silicone gaskets may react with certain solvents, while rubber gaskets can degrade in oil-based paints. Check the gasket’s material compatibility with your stored substances before installation.
Similarly, ensure the gasket’s thickness matches the rim’s depth. A gasket that’s too thick won’t seal properly, while one that’s too thin may not compress enough to create a barrier.
By following these steps, you’ll confirm your paint bucket gasket’s seal is reliable and long-lasting. Regular checks and proactive maintenance protect your materials and save time compared to dealing with leaks after they occur.