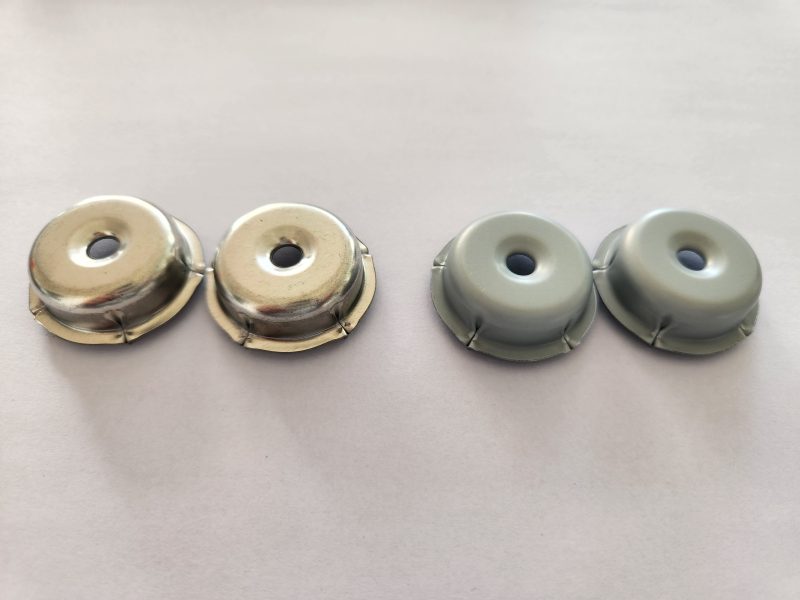
Maintaining Paint Bucket Gaskets with Phosphate – Free Cleaners
Paint bucket gaskets are essential components that ensure an airtight seal, preventing paint leakage and maintaining the quality of the stored paint. Using phosphate – free cleaners for their maintenance offers several benefits while also requiring specific care steps. Here’s a comprehensive guide on how to properly maintain paint bucket gaskets with these eco – friendly cleaners.
Benefits of Using Phosphate – Free Cleaners on Paint Bucket Gaskets
Environmental Friendliness
Phosphate – free cleaners are a great choice for those concerned about the environment. Phosphates, commonly found in traditional cleaners, can contribute to water pollution when they enter water bodies through runoff. They promote the growth of algae, which can deplete oxygen levels in the water, harming aquatic life. By opting for phosphate – free cleaners, you’re reducing your ecological footprint and helping to protect the environment. This is especially important if you’re working in an area where waste water may eventually reach natural water sources.
Gentle on Gasket Materials
The materials used to make paint bucket gaskets, such as rubber or silicone, can be sensitive to harsh chemicals. Phosphate – free cleaners are generally formulated to be milder, reducing the risk of damage to these materials. Traditional cleaners with phosphates may cause the gasket to become brittle, crack, or lose its elasticity over time. In contrast, phosphate – free options clean effectively without compromising the integrity of the gasket, ensuring it continues to provide a reliable seal for the paint bucket.
Safe for User Health
Using phosphate – free cleaners is also safer for your health. Phosphates can irritate the skin, eyes, and respiratory system if there is direct contact or inhalation of fumes during the cleaning process. Phosphate – free cleaners are less likely to cause such adverse reactions, making the cleaning task more comfortable and reducing the risk of health issues for those handling the gaskets. This is particularly important if you clean the gaskets frequently or in large quantities.
Selecting the Right Phosphate – Free Cleaner for Paint Bucket Gaskets
Consider the Cleaning Power
When choosing a phosphate – free cleaner, it’s important to assess its cleaning power. Look for a product that can effectively remove common contaminants from paint bucket gaskets, such as dried paint, grease, and dirt. Some cleaners may be specifically formulated for heavy – duty cleaning, while others are more suitable for light – duty tasks. Evaluate the level of dirt and grime on your gaskets and select a cleaner with the appropriate strength to get the job done efficiently.
Check for Compatibility
Ensure that the phosphate – free cleaner you choose is compatible with the material of your paint bucket gaskets. Different gasket materials may react differently to various cleaning agents. For example, some cleaners may be too acidic or alkaline for certain types of rubber or silicone, leading to damage. Read the product labels carefully or consult with the manufacturer to confirm that the cleaner is safe to use on your specific gasket material.
Look for Additional Features
Some phosphate – free cleaners come with additional features that can enhance the cleaning and maintenance process. For instance, some may have anti – static properties, which can help prevent dust from adhering to the gaskets after cleaning. Others may contain conditioning agents that can help keep the gasket material soft and flexible. Consider these additional features based on your specific needs and the storage conditions of your paint bucket gaskets.
Proper Cleaning Process Using Phosphate – Free Cleaners
Pre – cleaning Preparation
Before applying the phosphate – free cleaner, it’s a good idea to do some pre – cleaning preparation. Remove any large chunks of dried paint or debris from the gaskets by gently scraping them off with a plastic or wooden tool. Avoid using metal tools as they can scratch the gasket surface. You can also use a soft – bristled brush to loosen any stubborn dirt or dust. This pre – cleaning step will make the actual cleaning process more effective and efficient.
Applying the Cleaner
Follow the instructions on the phosphate – free cleaner product label for the correct application method. In most cases, you can dilute the cleaner with water if necessary, depending on the level of dirt and the recommended dilution ratio. Apply the cleaner to the gaskets using a sponge, cloth, or soft brush. Work the cleaner into the surface of the gasket, paying special attention to areas with heavy dirt or stains. Allow the cleaner to sit on the gasket for a few minutes to penetrate and break down the contaminants.
Rinsing and Drying
After the cleaner has had time to work, rinse the gaskets thoroughly with clean water. Make sure to remove all traces of the cleaner to prevent any residue from affecting the gasket material or the paint in the future. You can use a gentle stream of water from a hose or a bucket of clean water for rinsing. Once rinsed, dry the gaskets completely. As mentioned in previous maintenance guides, air – drying in a well – ventilated area is a good option. You can also use a fan to speed up the drying process, but avoid high – heat sources that could damage the gasket material.
Long – Term Storage and Maintenance After Cleaning
Proper Storage Conditions
After cleaning and drying the paint bucket gaskets, store them in a suitable environment to maintain their quality. Choose a cool, dry place away from direct sunlight, as excessive heat and UV rays can degrade the gasket material over time. Also, keep the gaskets away from chemical substances that could react with them. You can store the gaskets in clean, dry containers or bags to protect them from dust and dirt.
Regular Inspection
Perform regular inspections of the stored paint bucket gaskets. Check for any signs of damage, such as cracks, tears, or deformations. Also, look for any mold or mildew growth, especially if the storage area has high humidity. If you notice any issues during the inspection, take appropriate action, such as cleaning the gaskets again or replacing them if necessary. Regular inspections help ensure that the gaskets are always in good condition and ready for use when needed.
Re – application of Cleaner (if necessary)
Depending on the frequency of use and the storage conditions, you may need to re – apply the phosphate – free cleaner to the gaskets periodically. If you notice a build – up of dirt or contaminants on the gaskets during inspection, it’s time to clean them again. Follow the same cleaning process as described above to keep the gaskets in optimal condition. By maintaining a regular cleaning schedule, you can extend the lifespan of your paint bucket gaskets and ensure they continue to perform their sealing function effectively.