Key Tips for Installing Self-Adhesive Gaskets on Paint Buckets
Self-adhesive gaskets offer a convenient, tool-free solution for sealing paint buckets, preventing leaks and contamination. However, improper installation can lead to weak adhesion, air gaps, or premature failure. Below are practical steps and insights to ensure a secure, long-lasting seal for your projects.
Preparing Surfaces for Optimal Adhesion
The success of a self-adhesive gasket depends heavily on surface preparation. Even minor imperfections or residues can compromise the bond.
Cleaning the Bucket Rim
- Remove Debris: Wipe the rim with a lint-free cloth to eliminate dust, paint splatters, or grease. These particles create barriers between the adhesive and the surface, reducing effectiveness.
- Degreasing: For stubborn residues, use a mild detergent or isopropyl alcohol (diluted with water if necessary). Avoid harsh chemicals that might degrade the adhesive or bucket material.
- Drying Thoroughly: Allow the rim to air-dry completely. Moisture trapped under the gasket can weaken the bond over time or encourage mold growth.
Inspecting the Gasket and Rim
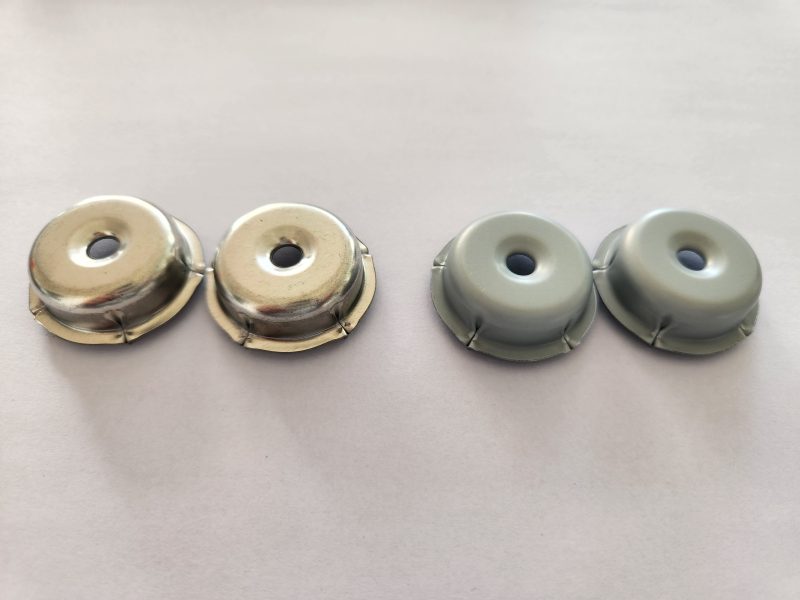
- Check for Damage: Examine the gasket for cracks, tears, or uneven edges. A damaged gasket won’t seal properly, even with strong adhesive.
- Verify Size Compatibility: Ensure the gasket matches the bucket’s diameter. An oversized gasket may bunch up, while an undersized one will leave gaps.
- Test Flexibility: Gently bend the gasket to confirm it’s pliable. Brittle or stiff materials are more likely to break during installation or use.
Applying the Gasket with Precision
Proper application technique ensures even adhesion and a uniform seal around the entire rim.
Peeling the Backing Layer
- Start Slowly: Begin by peeling back a small section of the protective backing (usually 1–2 inches). Avoid removing the entire backing at once, as this makes the gasket harder to handle.
- Hold the Gasket Securely: Use one hand to hold the exposed adhesive side while peeling with the other. This prevents the gasket from sticking to itself or unwanted surfaces.
- Avoid Touching the Adhesive: Fingerprints or oils from your skin can reduce adhesion strength. Handle the gasket by its edges whenever possible.
Positioning and Pressing the Gasket
- Align Carefully: Place the peeled section of the gasket onto the bucket rim, starting at a reference point like the handle or seam. Ensure it sits flush without overlapping or stretching.
- Press Firmly: Use your fingertips or a soft roller to apply even pressure along the installed section. This activates the adhesive and eliminates air bubbles.
- Work Incrementally: Peel and press small sections at a time, moving around the rim. Rushing can lead to misalignment or uneven adhesion.
Ensuring Full Contact
- Check for Gaps: After installing a few inches, inspect the gasket for raised edges or spaces between it and the rim. These indicate areas needing more pressure.
- Smooth Out Wrinkles: If the gasket bunches up, gently lift and reposition it. Stretching or forcing it into place can create weak spots.
- Final Press-Down: Once fully installed, run your hands firmly over the entire gasket to reinforce the bond. Pay extra attention to corners and curves.
Addressing Common Installation Challenges
Even with careful preparation, issues like poor adhesion or air pockets can occur. Here’s how to troubleshoot them effectively.
Gasket Lifting or Peeling
- Identify the Cause: Check if the rim was properly cleaned or if moisture is present. Dirt or water under the gasket weakens the adhesive.
- Reapply Pressure: If the gasket is lifting slightly, press it back down firmly, focusing on the affected area. Use a roller for better results.
- Consider Replacement: If large sections won’t adhere, the gasket may be damaged or incompatible with the bucket material. Replace it with a new one.
Air Bubbles Under the Gasket
- Prick and Press: For small bubbles, use a needle or pin to create a tiny hole, then press the air out toward the hole. Smooth the area with your fingers.
- Lift and Reapply: For larger bubbles, carefully lift the gasket near the bubble, press out the air, and reposition it. Avoid stretching the material.
- Prevent Future Bubbles: Apply the gasket slowly and press continuously to minimize trapped air during installation.
Difficulty Removing the Gasket Later
- Use Heat: If the gasket is stuck, gently warm it with a hairdryer (on low heat) to soften the adhesive. This makes removal easier without damaging the rim.
- Plastic Tools Only: Use a plastic scraper or spatula to pry up the gasket. Metal tools can scratch the bucket surface.
- Peel Slowly: Lift the gasket at a shallow angle to avoid tearing. Work in sections to control the process.
By following these steps and troubleshooting tips, you can install self-adhesive gaskets on paint buckets with confidence, ensuring a reliable seal for your storage and transportation needs.