Comprehensive Guide to Externally Adhesive Paint Bucket Gasket Installation
Installing a paint bucket gasket using an externally adhesive method is a practical solution for creating a secure, leak-proof seal without modifying the bucket’s interior. This approach is ideal for containers with irregular rims or when a traditional compression-fit gasket isn’t feasible. Below is a step-by-step guide to ensure proper installation and long-term performance.
Preparing the Bucket and Gasket for Installation
Cleaning the Rim Surface
Before applying the gasket, thoroughly clean the outer rim of the paint bucket to remove dust, grease, or residue. Use a mild detergent and water, followed by a lint-free cloth to dry the surface. For stubborn dirt or adhesive remnants, a solvent like isopropyl alcohol can be used, but ensure it’s compatible with the bucket material (e.g., plastic or metal). A clean surface ensures the adhesive bonds effectively, preventing the gasket from peeling over time.
Selecting the Right Adhesive Type
The adhesive you choose depends on the gasket material and the bucket’s exposure to chemicals or temperature extremes. For most applications, a strong, flexible adhesive like silicone-based or acrylic adhesive works well, as it accommodates movement without cracking. If the bucket stores solvents or harsh chemicals, opt for a chemically resistant adhesive rated for those substances. Always test the adhesive on a small area first to confirm compatibility and adhesion strength.
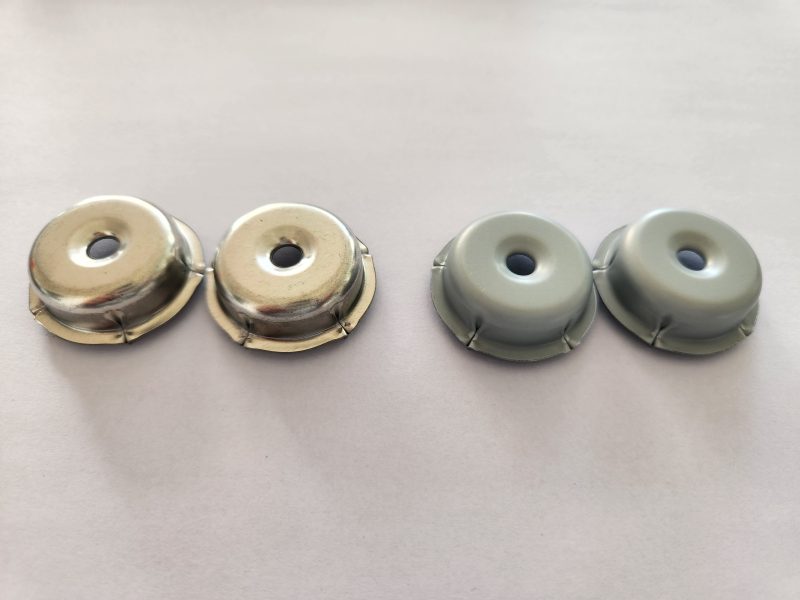
Step-by-Step Installation Process
Positioning the Gasket on the Rim
Unroll or unfold the gasket and align it with the outer edge of the bucket rim. Start at one point and gradually press the gasket into place, working your way around the circumference. Ensure the gasket sits flush against the rim without overlapping or bunching, as uneven placement can create gaps that lead to leaks. For circular buckets, maintain consistent tension as you apply the gasket to avoid wrinkles. If the gasket is pre-cut to a specific shape, double-check its alignment with the rim’s contours.
Applying Adhesive Evenly
Once the gasket is positioned, apply adhesive to the backside (the side that contacts the rim). Use a small brush, roller, or adhesive applicator to spread a thin, even layer across the entire surface. Avoid applying too much adhesive, as excess can ooze out from under the gasket and attract dirt. For long-lasting adhesion, focus on covering the edges and corners of the gasket, where peeling is most likely to occur. Allow the adhesive to set for the time recommended by the manufacturer (usually a few minutes to an hour) before proceeding.
Securing the Gasket in Place
After the adhesive becomes tacky, press the gasket firmly onto the rim using even pressure. Use a roller or a flat tool to smooth out any air bubbles trapped beneath the gasket. Start at the center and work outward to ensure full contact between the gasket and the rim. For added security, place a weight or clamp around the rim to hold the gasket in place while the adhesive cures fully. This step is crucial for preventing shifts during transportation or handling.
Post-Installation Checks and Maintenance
Inspecting for Gaps or Misalignment
Once the adhesive has cured (refer to the manufacturer’s guidelines for curing time), inspect the gasket for gaps, wrinkles, or areas where it isn’t fully bonded to the rim. Run your fingers along the edge to feel for inconsistencies. Even small gaps can allow paint or chemicals to leak, so address any issues immediately. If the gasket isn’t adhering properly, gently lift it and reapply adhesive to the problematic areas, then press it back down.
Testing the Seal Under Pressure
To confirm the gasket creates a leak-proof seal, perform a pressure test. Fill the bucket with water (or a non-hazardous liquid if testing chemicals) and close the lid tightly. Check for drips or moisture around the rim after a few minutes. If leaks are detected, tighten the lid further or reposition the gasket. For buckets storing volatile substances, consider using a pressure gauge or vacuum test to simulate real-world conditions.
Cleaning and Storing Buckets with Installed Gaskets
When cleaning buckets with externally adhesive gaskets, avoid using abrasive tools or harsh chemicals that could damage the gasket or adhesive. Instead, use a soft cloth and mild soap to wipe down the exterior. If the gasket accumulates dirt or residue, gently clean it with a damp cloth and let it air dry. Store buckets in a cool, dry place away from direct sunlight, as prolonged exposure to heat or UV light can degrade the adhesive and gasket material over time.
Troubleshooting Common Installation Issues
Gasket Peeling at the Edges
If the gasket starts to peel at the edges, it may be due to insufficient adhesive application or improper curing. Reapply adhesive to the loose areas, ensuring full coverage, and press the gasket back down firmly. For persistent peeling, consider using a stronger adhesive or adding a mechanical fastener (like a clip or strap) to hold the gasket in place temporarily while the adhesive sets.
Air Bubbles Trapped Under the Gasket
Air bubbles beneath the gasket can compromise the seal and create weak spots. To remove them, lift the affected section of the gasket slightly and re-press it onto the rim using a roller or flat tool. Work slowly to avoid introducing new bubbles. If bubbles persist, carefully lift the entire gasket, reapply adhesive, and reinstall it, ensuring a smooth application from the start.
Adhesive Residue on the Bucket Rim
After removing or repositioning the gasket, adhesive residue may remain on the rim. Use a solvent specified for the adhesive type (e.g., acetone for acrylic adhesives) to dissolve the residue. Apply the solvent sparingly with a cloth and gently rub the area until clean. Rinse with water and dry thoroughly before reinstalling the gasket. Always wear gloves when handling solvents to protect your skin.
By following these steps and paying attention to detail during installation, you can ensure your externally adhesive paint bucket gasket forms a durable, leak-proof seal. Proper preparation, even application, and regular maintenance will extend the gasket’s lifespan and protect stored materials from contamination.