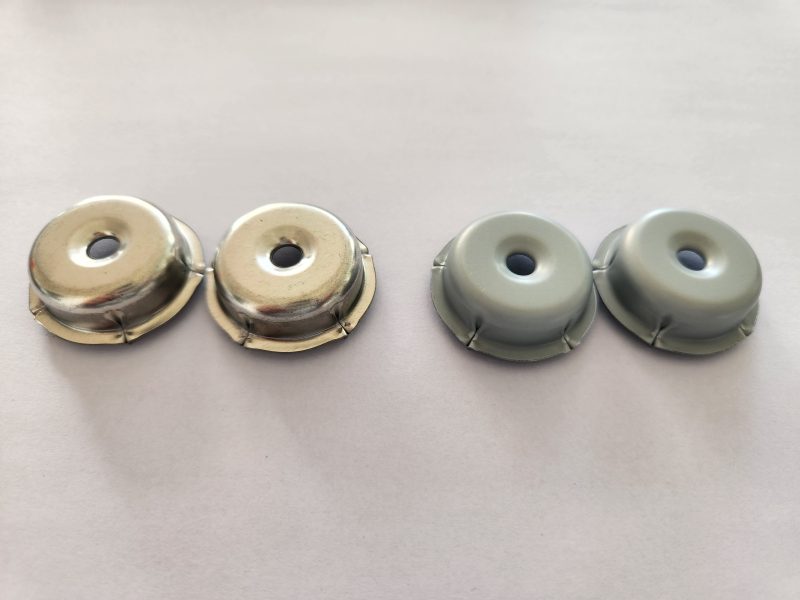
Step-by-Step Guide to Embedded Installation of Paint Bucket Gaskets
Properly installing a gasket in a paint bucket or industrial container ensures a leak-proof seal, preventing contamination and maintaining product integrity. Embedded installation, where the gasket sits flush within a recessed groove, is common for high-pressure or chemical-resistant applications. Below is a detailed walkthrough of the process.
Preparing the Container and Gasket
Before installation, thorough preparation minimizes risks of misalignment or seal failure.
Cleaning the Surface
- Remove Debris: Use a lint-free cloth and a mild solvent (e.g., isopropyl alcohol) to wipe the groove and surrounding area. Residual paint, dust, or grease can prevent the gasket from seating correctly.
- Dry Completely: Allow the container to air-dry or use compressed air to eliminate moisture, which may interfere with adhesion or compression.
Inspecting the Gasket
- Check for Damage: Look for cuts, tears, or uneven thickness, which could compromise sealing. Discard defective gaskets immediately.
- Verify Dimensions: Ensure the gasket matches the groove’s width and depth. An oversized gasket may buckle, while an undersized one won’t seal properly.
Installing the Gasket in the Embedded Groove
The embedded design requires precise placement to achieve optimal compression and sealing.
Aligning the Gasket
- Start at One End: Position one edge of the gasket into the groove, then gradually press it into place using your fingers or a blunt tool (e.g., a plastic spatula). Avoid sharp objects that could puncture the material.
- Maintain Even Pressure: Work around the groove in a circular motion, ensuring the gasket sits flush without twisting or bunching. For rectangular containers, align corners carefully to prevent gaps.
Ensuring Proper Compression
- Check Fit: The gasket should fill the groove completely, with no visible gaps or overhang. Lightly press along the perimeter to confirm uniform contact with the container walls.
- Avoid Overstretching: Stretching the gasket to fit can weaken it, leading to premature failure. If the gasket is too tight, trim it slightly or select a better-sized alternative.
Securing the Gasket for Long-Term Performance
Proper securing methods prevent displacement during use, especially in dynamic environments.
Using Mechanical Fasteners (If Applicable)
- Clamps or Retainers: For removable lids, use non-corrosive clamps to hold the gasket in place. Ensure they distribute pressure evenly to avoid localized stress.
- Bead Seats: Some containers feature a raised bead around the groove to lock the gasket. Press the gasket firmly against this bead during installation.
Applying Adhesive (Optional)
- Pressure-Sensitive Adhesives: A thin layer of adhesive on the gasket’s backside can improve stability in high-vibration applications. Choose a solvent-resistant formula compatible with both the gasket and container material.
- Curing Time: Allow adhesive to cure fully before filling the container to prevent chemical reactions with the stored media.
Testing the Seal After Installation
Verification ensures the gasket functions as intended before the container is put into service.
Visual Inspection
- Check for Gaps: Shine a light around the perimeter to spot any light leaks, which indicate incomplete sealing.
- Examine Edges: Ensure the gasket isn’t peeling away from the groove at corners or seams.
Pressure Testing (For Critical Applications)
- Low-Pressure Test: Fill the container with water or air (at a safe, low pressure) and monitor for leaks. Mark and repair any weak spots immediately.
- Thermal Cycling: If the container will experience temperature fluctuations, cycle it between hot and cold environments to test the gasket’s expansion and contraction tolerance.
Common Errors to Avoid During Installation
- Using the Wrong Tool: Sharp knives or metal tools can damage the gasket or container. Stick to plastic or rubber implements.
- Rushing the Process: Hasty installation often leads to misalignment or incomplete seating. Take time to align and press the gasket methodically.
- Ignoring Environmental Factors: High humidity or extreme temperatures during installation can affect adhesive curing or material flexibility. Work in controlled conditions if possible.
By following these steps, you can achieve a secure, embedded gasket installation that maintains a reliable seal in paint buckets and similar containers.
