Proper Installation Steps for Paint Bucket Gaskets: A Detailed Guide
Installing a gasket on a paint bucket or similar container requires precision to ensure a leak-proof seal. Whether you’re working with industrial equipment or DIY projects, following the correct steps prevents contamination and maintains the integrity of stored materials. Below is a structured approach to achieving a flawless installation.
Preparing the Surface and Components
Cleaning and Inspecting the Sealing Surfaces
Before installation, thoroughly clean both the bucket’s flange and the gasket. Residual paint, grease, or debris can compromise adhesion. Use a solvent-based cleaner to dissolve stubborn substances, then wipe the area dry with a lint-free cloth. Inspect the surfaces for scratches, dents, or unevenness. Even minor imperfections can lead to leaks, so sanding rough edges or filling gaps may be necessary.
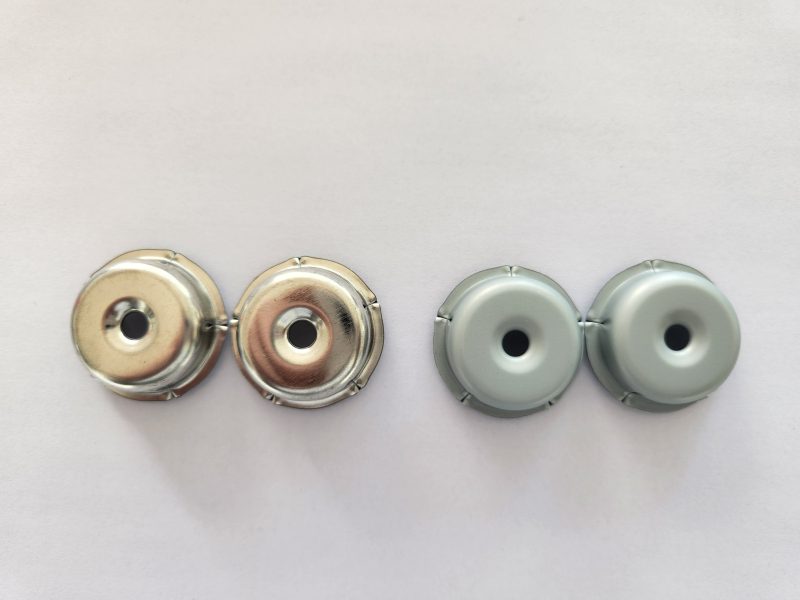
Aligning the Gasket with the Bucket’s Design
Modern gaskets often feature tongue-and-groove systems or pre-cut holes for bolts or clips. Lay the gasket flat on a clean surface and verify that all cutouts match the bucket’s flange. For multi-piece gaskets, ensure dovetail joints fit snugly without gaps. If the gasket includes adhesive backing, avoid removing the protective film until the final positioning step to prevent premature sticking.
Installing the Gasket Without Compromising Seal Integrity
Positioning the Gasket Correctly
For flat gaskets, apply a thin layer of gasket-specific sealant to the bucket’s flange if recommended by the manufacturer. Avoid overusing adhesive, as excess can squeeze out and block drainage holes or interfere with the lid’s closure. Place the gasket onto the flange, starting from one edge and working your way around to prevent air bubbles. Use a roller or flat tool to press the gasket firmly into place, ensuring full contact with the surface.
Handling Curved or Complex Seals
If the bucket has a contoured design, such as a rounded lip or stepped edges, the gasket may require additional steps. For example, some gaskets use RTV (room-temperature vulcanizing) silicone at corners or joints to create a flexible seal. Apply a small bead of RTV to these areas, then press the gasket into position. Allow the sealant to cure partially—usually 5–10 minutes—before proceeding to avoid shifting during assembly.
Securing the Gasket for Long-Term Performance
Using Mechanical Aids for Alignment
In tight spaces or when working alone, tools like SnapUps or temporary clips can hold the gasket in place while you secure the bucket’s lid or fasteners. These aids prevent the gasket from slipping during installation, especially on vertical surfaces. Once the gasket is aligned, install the first few bolts or clips loosely to maintain position before tightening them gradually in a cross-pattern sequence. This distributes pressure evenly and reduces the risk of warping the gasket.
Final Checks and Torque Specifications
After securing all fasteners, inspect the gasket for uniform compression. Over-tightening can crush the material, while under-tightening may leave gaps. Refer to the bucket’s manual for torque specifications if available. If no specs are provided, tighten bolts until snug, then apply an additional quarter-turn using a calibrated torque wrench for consistency. For adhesive-backed gaskets, press the lid onto the bucket firmly to activate the bond, then leave the assembly undisturbed for the recommended curing time.
Common Pitfalls and How to Avoid Them
Preventing Gasket Slippage During Installation
A common mistake is applying too much sealant or adhesive, which can cause the gasket to slide out of place. Use only the amount specified by the manufacturer, and apply it sparingly to the center of the flange rather than the edges. If working on a painted surface, ensure the paint is fully cured and free of chips, as rough textures can prevent proper adhesion.
Addressing Leaks After Installation
If leaks occur, recheck the gasket for misalignment or damage. Even a small tear or fold can compromise the seal. For reusable gaskets, inspect for wear and replace them if they show signs of cracking or deformation. When reinstalling, clean the surfaces again and follow the steps above carefully.
By following these guidelines, you can ensure a durable, leak-proof seal that protects stored materials and extends the lifespan of your paint bucket or container. Proper installation not only saves time and resources but also maintains safety standards in industrial or creative environments.