Essential Cleaning Steps Before Installing Paint Bucket Gaskets
Properly cleaning surfaces before installing paint bucket gaskets is critical for ensuring a leak-proof seal and extending the lifespan of both the gasket and container. Residue, dust, or contaminants left on the rim or gasket can compromise adhesion, leading to premature failure or chemical reactions. This guide outlines a step-by-step process to prepare surfaces effectively.
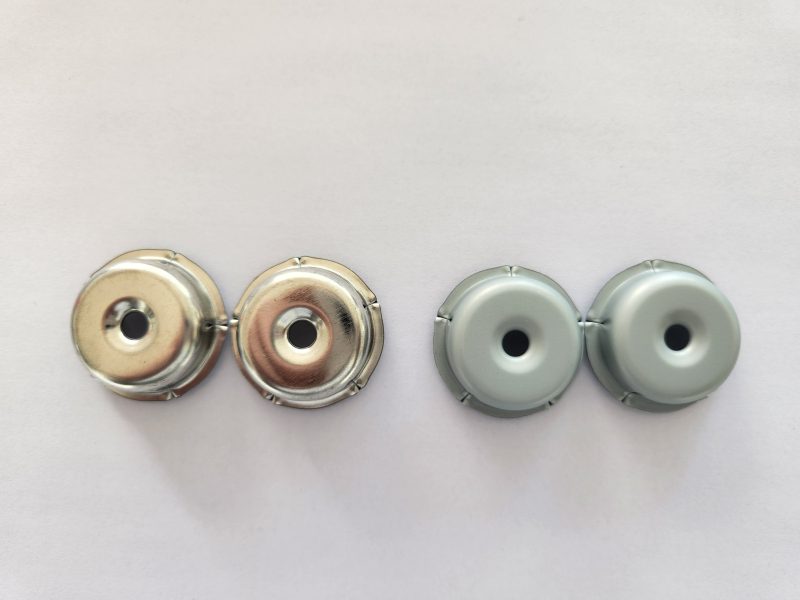
Identifying Contaminants to Remove
Before cleaning, assess the types of residues present on the bucket rim and gasket. Common contaminants include:
- Dried Paint or Solvent: Leftovers from previous use can harden into stubborn layers.
- Grease or Oil: Lubricants from manufacturing or handling may create slippery surfaces.
- Dust or Debris: Particles from storage or transportation can settle into grooves.
Each type requires a tailored approach to avoid damaging the materials. For example, abrasive cleaners might scratch soft plastics, while water-based solutions may not dissolve oil effectively.
Removing Dried Paint and Solvent Residue
Start by scraping off large chunks of dried paint using a plastic or nylon scraper. Avoid metal tools, as they can gouge the bucket rim or gasket, creating leak paths. For remaining residue, dampen a lint-free cloth with a solvent suitable for the paint type (e.g., mineral spirits for oil-based paints).
Gently rub the affected areas in a circular motion, applying just enough pressure to lift the residue without deforming the surface. For stubborn spots, let the solvent sit for 1–2 minutes to soften the material before wiping again. Always wear gloves and work in a well-ventilated area to avoid inhaling fumes.
Eliminating Grease and Oil Buildup
Grease and oil require a degreasing agent to break down their molecular bonds. Mix a mild dish soap with warm water to create a sudsy solution. Dip a clean cloth into the mixture and wring it out to avoid excess moisture, which could seep into the bucket’s interior.
Wipe the rim and gasket thoroughly, focusing on crevices where oil might accumulate. For heavy buildup, use a soft-bristled brush to scrub gently. Rinse the surfaces with a damp cloth dampened with clean water to remove soap residue, then dry them completely with a separate towel.
Preparing the Gasket for Installation
The gasket itself may also harbor contaminants from storage or handling. Even new gaskets can have protective coatings or dust that interfere with sealing.
Inspecting and Cleaning New Gaskets
Unroll the gasket carefully and lay it flat on a clean surface. Examine both sides for visible debris, such as packaging fragments or manufacturing residues. Use compressed air or a soft brush to remove loose particles.
For gaskets with a tacky surface (common in silicone or rubber types), wipe them lightly with isopropyl alcohol to dissolve any oils or coatings. Avoid over-saturating the material, as excess alcohol can weaken adhesives or cause swelling. Allow the gasket to air-dry completely before installation.
Handling Reused Gaskets
If reusing a gasket, inspect it for cracks, tears, or permanent deformation. Even minor damage can prevent a proper seal. Clean reused gaskets using the same methods as new ones, but pay extra attention to grooves or folds where old paint might be trapped.
Soak the gasket in warm, soapy water for 10–15 minutes to loosen embedded residues, then scrub gently with a nylon brush. Rinse thoroughly and dry before proceeding.
Final Surface Preparation
After cleaning, ensure both the bucket rim and gasket are fully dry and free of moisture. Residual water can react with certain paints or solvents, causing bubbling or discoloration.
Ensuring a Dry, Smooth Surface
Use a clean, dry cloth to wipe down the rim and gasket one final time. Run your fingers along the edges to check for rough spots or lingering debris. If the rim feels uneven, lightly sand it with fine-grit sandpaper (e.g., 220-grit) to create a smooth, even surface.
For gaskets with a textured side, verify that the texture aligns with the bucket’s rim design. Some gaskets feature raised ridges or patterns to enhance sealing; misalignment can reduce their effectiveness.
Protecting Surfaces During Storage
If you’re not installing the gasket immediately, store it in a sealed plastic bag to prevent dust accumulation. Keep the bucket covered or upside-down to shield the rim from contaminants. Label both components to avoid mixing them with uncleaned items.
By following these steps, you’ll create an ideal foundation for a secure, long-lasting gasket installation. Proper cleaning not only prevents leaks but also ensures the gasket functions as intended, protecting your paint and workspace from costly damage.