Step-by-Step Guide to Replacing Gaskets in Paint Buckets
Replacing gaskets in paint buckets is essential for maintaining airtight seals and preventing leaks or contamination. Whether upgrading worn-out components or adjusting for a new type of paint, a systematic approach ensures proper installation and long-term functionality. Below is a detailed walkthrough covering preparation, removal, and secure fitting of replacement gaskets.
Preparing for Gasket Replacement
Before starting, gather the right tools and assess the condition of the bucket and gasket to avoid mistakes.
Gathering Necessary Tools and Materials
A successful replacement requires minimal tools: a plastic scraper or spatula, a clean cloth, isopropyl alcohol, and gloves to protect hands from sharp edges or chemicals. Avoid metal tools, which can scratch the bucket rim or damage the new gasket. If the gasket is adhesive-backed, ensure the workspace is dust-free to prevent debris from sticking to the adhesive.
Assessing the Condition of the Bucket and Lid
Check the bucket rim and lid for cracks, dents, or residue. A damaged rim may prevent the new gasket from sealing correctly, leading to leaks. Use the plastic scraper to remove old paint or adhesive from the rim, then wipe the surface with a cloth dampened in isopropyl alcohol. Let it dry completely before proceeding. Inspect the lid for warping—if it doesn’t sit flush, the bucket may need replacement instead of a new gasket.
Selecting the Correct Gasket Type
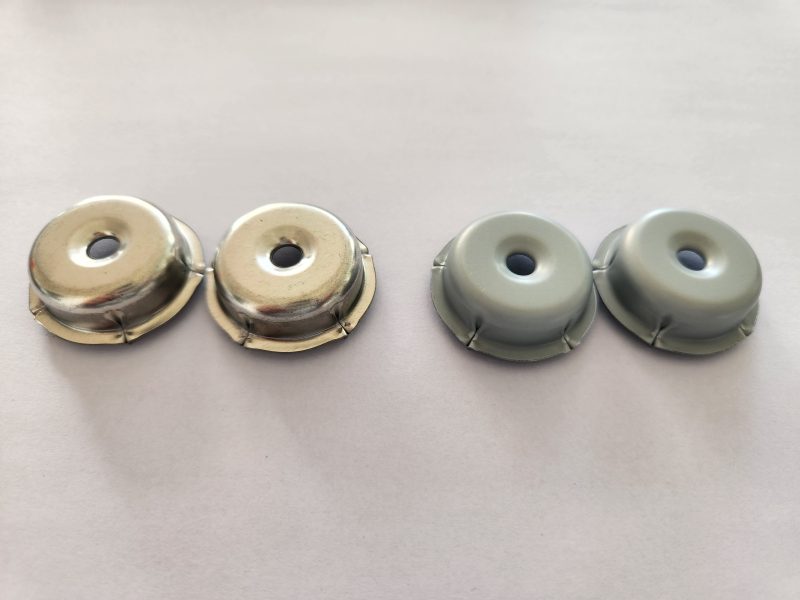
Gaskets vary in thickness, material, and design. Choose one compatible with the bucket’s rim shape (circular, square, or rectangular) and the type of paint stored. Thicker gaskets offer better durability for heavy-duty use, while thinner options save space. If the bucket is used for chemicals, opt for a chemical-resistant gasket to avoid degradation. Verify the gasket’s dimensions match the rim’s width and length to ensure a snug fit.
Removing the Old Gasket
Proper removal prevents damage to the bucket rim and prepares the surface for the new gasket.
Loosening Stubborn or Adhesive-Backed Gaskets
For gaskets stuck with adhesive, apply heat using a hairdryer on a low setting. Hold it 6–8 inches away from the gasket for 30–60 seconds to soften the adhesive. Gently lift one corner with the plastic scraper, then slowly peel the gasket away, keeping it as intact as possible. If the adhesive remains, dampen a cloth with isopropyl alcohol and rub the residue until it dissolves. Avoid scraping aggressively, as this can gouge the rim.
Cleaning the Rim After Removal
After removing the old gasket, inspect the rim for leftover adhesive or debris. Use the plastic scraper to gently scrape off stubborn bits, then wipe the rim with isopropyl alcohol again. Ensure no particles remain, as they can create gaps under the new gasket. For textured rims, use a soft-bristled brush to dislodge hidden dirt. Let the rim air-dry completely before installing the replacement.
Inspecting the Rim for Damage
While cleaning, check for nicks, scratches, or uneven surfaces. Minor imperfections can be smoothed with fine-grit sandpaper (400–600 grit), but deep gouges may require professional repair or bucket replacement. A damaged rim compromises the new gasket’s seal, leading to leaks or premature wear. If the rim is warped, the lid may not close properly, even with a new gasket.
Installing the New Gasket
Careful installation ensures the gasket forms a tight, leak-proof seal without stretching or misalignment.
Aligning the Gasket Correctly on the Rim
Start by identifying a reference point, such as a bucket handle seam or a printed label, to align the gasket. For circular rims, begin at the top and work clockwise; for square or rectangular rims, start at a corner. Press the gasket into the rim gently, using your fingertips to avoid overstretching. If the gasket has a specific orientation (e.g., a groove for adhesive), ensure it matches the rim’s design.
Applying Even Pressure to Secure the Gasket
Once aligned, use a plastic spatula or roller to press the gasket firmly into the rim. Work in small sections, applying steady pressure to bond adhesive-backed gaskets or seat non-adhesive ones into grooves. Avoid using excessive force, which can stretch or tear the gasket. For thick gaskets, press harder to ensure they conform to the rim’s shape; for thin ones, use light touches to prevent creasing.
Checking for Gaps or Misalignment
After installation, close the lid and inspect the seal. Look for gaps between the lid and rim or areas where the gasket isn’t flush. Open the lid and reposition the gasket if needed, pressing down on problem spots. For adhesive-backed gaskets, hold the lid closed for 1–2 minutes to reinforce the bond. Test the seal by tilting the bucket slightly—if paint leaks, the gasket isn’t seated correctly.
Final Checks and Testing
Verifying the installation prevents future issues and ensures the bucket is ready for use.
Testing the Seal for Leaks
Fill the bucket with water (or a small amount of paint if safe to test) and close the lid tightly. Tilt the bucket at a 45-degree angle and hold it for 30 seconds. Check for drips or moisture around the rim. If leaks occur, reopen the lid and inspect the gasket for gaps or misalignment. Re-press the gasket into the rim, focusing on leaky areas, then retest.
Ensuring the Lid Closes Smoothly
The lid should close without resistance and sit flush with the rim. If it rocks or requires force, the gasket may be overcompressed or misaligned. Adjust the gasket’s position or trim excess material if it’s too thick. For adhesive-backed gaskets, ensure the adhesive hasn’t oozed onto the rim, creating unevenness. A properly fitted lid should seal tightly with minimal effort.
Storing the Bucket Properly After Installation
Store the bucket upright in a cool, dry place away from direct sunlight or extreme temperatures. Avoid stacking heavy objects on top, as pressure can deform the gasket or rim. If the bucket contains paint, keep it sealed to prevent the gasket from drying out or cracking. Regularly inspect the gasket for signs of wear, such as cracking or shrinking, and replace it if needed.
By following these steps, replacing gaskets in paint buckets becomes a straightforward process that enhances functionality and prevents leaks. Attention to detail during preparation, removal, and installation ensures the new gasket performs reliably, even under demanding conditions.