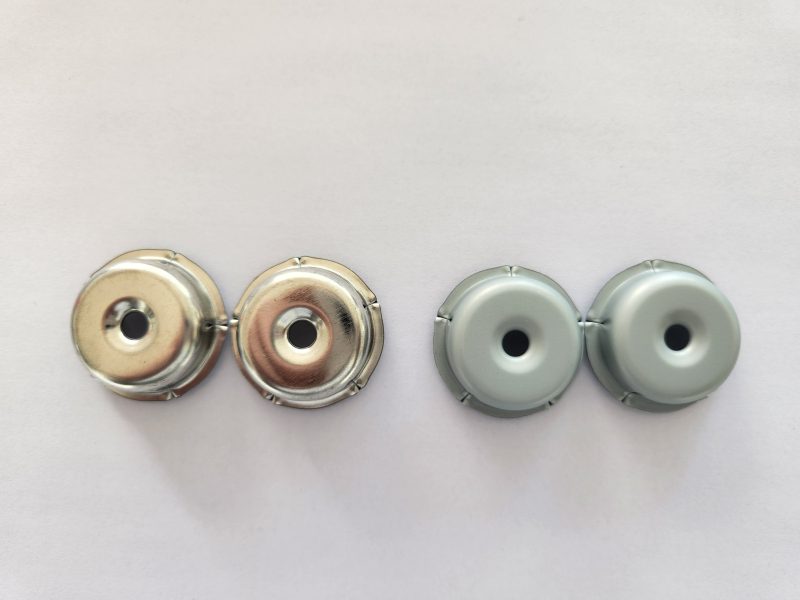
Essential Tips for Installing Thickened Gaskets on Paint Buckets
Thickened gaskets offer enhanced durability and sealing power, making them ideal for paint buckets that require extra protection against leaks or chemical exposure. However, their increased thickness demands specific installation techniques to ensure compatibility with the bucket’s rim and lid. From alignment challenges to pressure distribution, these guidelines address the unique considerations of working with thickened gaskets.
Assessing Gasket Thickness Against Bucket Specifications
Thickened gaskets aren’t universally compatible—their success depends on matching their dimensions to the bucket’s design.
Comparing Gasket Thickness to Rim Clearance
Measure the gap between the bucket’s rim and the underside of the lid. A thickened gasket must fit snugly within this space without forcing the lid to sit unevenly. If the gasket is too thick, the lid may not close fully, leaving gaps for air or liquid to escape. Conversely, a gasket that’s too thin won’t provide the intended sealing benefits.
Verifying Material Flexibility
Thickened gaskets often use denser materials, such as reinforced rubber or silicone blends, which may resist bending. Test the gasket’s flexibility by gently folding it—if it cracks or resists shaping, it might not conform to the rim’s contours. Opt for materials labeled as “semi-flexible” or “high-compression” to balance thickness with adaptability.
Checking for Pre-Cut or Customizable Options
Some thickened gaskets come pre-sized for standard bucket dimensions, while others require trimming. If customization is needed, use sharp scissors or a utility knife to cut the gasket to match the rim’s inner and outer diameters. Always leave a 1–2mm margin to account for compression once installed.
Preparing the Bucket Rim for Thickened Gasket Installation
A clean, smooth rim ensures the gasket seats properly and maintains its seal over time.
Removing Old Adhesive or Residue
Previous gasket installations may leave behind sticky residue or hardened adhesive, which can prevent the new gasket from adhering correctly. Use a plastic scraper to gently lift dried material, then wipe the rim with a cloth dampened with isopropyl alcohol. Avoid abrasive cleaners that could scratch the surface.
Smoothing Rough or Uneven Rim Surfaces
Thickened gaskets amplify minor imperfections in the rim, such as dents or burrs, leading to uneven sealing. Run your finger along the rim to detect rough spots. Lightly sand these areas with fine-grit sandpaper (200–400 grit) until smooth. For metal rims, use a file for stubborn protrusions.
Ensuring Rim Dryness Before Installation
Moisture trapped between the gasket and rim can weaken adhesion or cause the gasket to shift during use. After cleaning, let the rim air-dry completely. For faster drying, use a lint-free cloth or compressed air, but avoid heating tools that might warp the plastic or metal.
Techniques for Aligning and Pressing Thickened Gaskets
Thick materials require deliberate pressure and precise alignment to avoid misshaping or incomplete sealing.
Starting Alignment at a Fixed Point
Choose a reference, such as a bucket handle seam or a printed label, to anchor the gasket’s starting position. This ensures consistent placement as you work around the rim. For circular buckets, align the gasket’s seam (if applicable) opposite the handle to distribute stress evenly when the lid closes.
Using Gradual Pressure to Avoid Overcompression
Thickened gaskets resist bending, so applying too much force at once can stretch or tear the material. Instead, press the gasket into the rim in small sections, using a flat-edged tool like a plastic spatula or a wooden dowel. Work from the center outward to distribute pressure evenly and prevent wrinkles.
Addressing Gaps in Recessed or Grooved Rims
Some buckets feature recessed rims or grooves designed to hold the gasket in place. Thickened gaskets may not fit these grooves without adjustment. Use a hooked tool (e.g., a dental pick or a small screwdriver) to tuck the gasket into the groove, ensuring it sits flush with the rim’s surface. Avoid forcing the material, as this can cause permanent deformation.
Verifying the Seal and Making Post-Installation Adjustments
A thorough check ensures the thickened gasket performs as intended, protecting contents from leaks or contamination.
Testing Lid Closure for Even Pressure
Close the lid loosely and check if it sits flush with the rim. Press down gently on the lid’s edges—if it rocks or lifts in certain areas, the gasket may be misaligned or overcompressed. Lift the lid and reposition the gasket, applying additional pressure to problem spots.
Inspecting for Air Leaks or Visual Gaps
Listen for hissing sounds when pressing the lid, which indicate air escaping through gaps. Alternatively, fill the bucket with water (temporarily) and check for drips around the rim. For a dry test, shine a flashlight along the edge of the lid in a dark room—light leaks reveal incomplete sealing.
Adjusting Without Removing the Gasket
If gaps persist, avoid pulling the entire gasket off the rim, as this can stretch or damage the material. Instead, use a thin, blunt tool to lift small sections and press them back into place. For adhesive-backed gaskets, ensure the bond hasn’t weakened during adjustments by applying firm, steady pressure.
Common Pitfalls to Avoid with Thickened Gaskets
Mistakes during installation can compromise the gasket’s effectiveness, so awareness of these issues is critical.
Using Incompatible Tools for Pressure Application
Metal tools, such as screwdrivers or pliers, can puncture or dent thickened gaskets during installation. Stick to plastic or wooden tools with rounded edges to minimize damage. Similarly, avoid hammering or striking the gasket, as this can cause irreversible compression or cracking.
Overlooking Material Expansion in Heat
Thickened gaskets made from rubber or silicone may expand slightly in warm environments, loosening their seal. If the bucket will be stored or used in high temperatures, choose a gasket with low thermal expansion properties or leave a small margin (0.5–1mm) when trimming to account for growth.
Failing to Recheck the Seal After Initial Use
Even a properly installed gasket can shift during transportation or handling. After filling the bucket, reinspect the lid and rim for leaks. Tighten the lid if necessary or reposition the gasket to address any new gaps. Regular checks extend the gasket’s lifespan and prevent costly spills.
By following these steps, installing thickened gaskets on paint buckets becomes a straightforward process. Attention to material compatibility, precise alignment, and thorough testing ensures a reliable seal that withstands pressure, temperature changes, and frequent use.