Step-by-Step Guide: Snap-Fit Installation Process for Paint Bucket Gaskets
Installing a snap-fit gasket on a paint bucket is a straightforward process that ensures an airtight seal to prevent leaks and contamination. This method relies on interlocking components rather than adhesives or tools, making it quick and efficient for both professional and DIY users. Below is a detailed walkthrough of the installation steps, along with tips for troubleshooting common issues.
Preparing the Bucket and Gasket for Installation
Before attaching the gasket, proper preparation ensures a secure fit and long-lasting performance.
Cleaning the Bucket Rim
- Remove Residue: Wipe the inner rim of the paint bucket with a clean, dry cloth to eliminate dust, paint drips, or debris. Any particles trapped under the gasket can prevent a proper seal.
- Drying the Surface: Ensure the rim is completely dry. Moisture can weaken the snap-fit connection or promote mold growth over time.
- Inspecting for Damage: Check the rim for dents, cracks, or uneven edges. A damaged rim may not hold the gasket securely, leading to leaks.
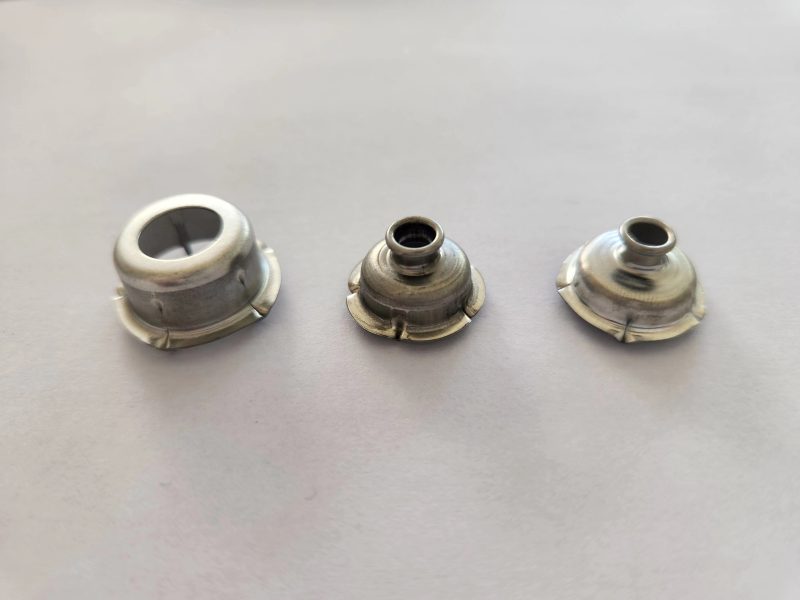
Inspecting the Gasket
- Checking for Defects: Examine the gasket for cracks, tears, or deformities. Even minor damage can compromise its ability to snap into place.
- Verifying Size Compatibility: Confirm the gasket matches the bucket’s diameter. An ill-fitting gasket will either fall off or fail to create a tight seal.
- Flexibility Test: Gently bend the gasket to ensure it retains its shape. Overly stiff or brittle materials may break during installation.
Aligning the Gasket for Proper Positioning
Proper alignment is critical to avoid misinstallation, which can lead to uneven sealing or difficulty closing the lid.
Starting at a Reference Point
- Choosing a Landmark: Identify a feature on the bucket, such as a handle or seam, to use as a starting point. This helps maintain consistent alignment as you work around the rim.
- Positioning the Gasket: Place one end of the gasket at the reference point, ensuring the snap-fit tabs face inward toward the bucket’s center.
- Avoiding Twists: Keep the gasket flat against the rim as you begin installation. Twisting or stretching it can cause misalignment or uneven compression.
Working Around the Rim
- Gradual Progression: Move clockwise or counterclockwise, pressing the gasket into place in small sections. Applying too much force at once may dislodge previously installed parts.
- Maintaining Tension: Hold the gasket taut but not stretched as you snap it onto the rim. Excessive tension can deform the material or pull it out of alignment.
- Double-Checking Alignment: Periodically step back to ensure the gasket sits flush against the rim without overlapping or gaps.
Securing the Gasket with Snap-Fit Components
The final step involves locking the gasket into place using its built-in snap-fit features, which vary slightly depending on design but follow a similar principle.
Engaging the Locking Mechanism
- Pressing Down Firmly: Once the gasket is aligned, press each section firmly into the rim’s groove or notch. You should hear a slight “click” as it locks into place.
- Using Even Pressure: Apply consistent force around the entire rim to avoid weak spots. Uneven pressure may leave some sections loosely attached.
- Testing Each Section: After installing a few inches, gently tug the gasket to confirm it’s secure. If it shifts, reposition and press again until it stays in place.
Completing the Installation
- Final Inspection: Once the gasket is fully installed, run your fingers along the rim to feel for any loose areas or protrusions. These indicate sections that need re-snapping.
- Lid Test: Close the bucket lid to check the seal. The lid should fit snugly without excessive force. If it’s loose or wobbly, the gasket may not be properly seated.
- Adjusting as Needed: If the gasket doesn’t seal correctly, carefully remove and reinstall problem sections, ensuring they snap fully into the rim.
Troubleshooting Common Installation Issues
Even with careful installation, issues like misalignment or difficulty snapping can arise. Here’s how to address them:
Gasket Won’t Snap Into Place
- Check for Obstructions: Ensure no debris is blocking the rim’s groove or the gasket’s tabs. Clean the area and try again.
- Soften the Material: If the gasket is too stiff, warm it slightly with your hands or a hairdryer (on low heat) to increase flexibility.
- Realign the Tabs: Verify the tabs are facing the correct direction. Incorrect orientation prevents them from engaging with the rim.
Uneven Seal After Installation
- Identify Loose Sections: Run your hand around the rim to find areas where the gasket isn’t fully snapped. Re-press these sections firmly.
- Adjust Tension: If the gasket is stretched or twisted, carefully remove and reinstall it, maintaining even tension throughout the process.
- Replace if Damaged: If the gasket is cracked or deformed, replace it with a new one to ensure a proper seal.
Difficulty Removing the Gasket Later
- Use a Plastic Tool: To avoid damaging the rim, gently pry the gasket loose with a plastic scraper or spatula instead of metal tools.
- Work in Sections: Lift one part of the gasket at a time, gradually working around the rim to prevent sudden breaks.
- Apply Lubricant: If the gasket is stuck due to dried paint or adhesive residue, a small amount of silicone-based lubricant can help loosen it.
By following these steps and troubleshooting tips, you can install a snap-fit paint bucket gasket efficiently and confidently, ensuring a reliable seal for your painting projects.